How to determine the charging time for an RV solar battery charger?
Understand the battery capacity
To determine the capacity of your RV battery, follow these simple steps:
- Locate the battery: Start by finding the battery on your RV. It is typically located in an accessible compartment or under a panel, but the exact location may vary depending on your RV model.
- Examine the battery: Once you’ve located the battery, carefully inspect it for any labels or markings. Look for information such as the battery’s brand, model number, and specifications.
- Check the battery case: If you don’t find any labels or markings on the battery itself, examine the battery case. Some manufacturers print important details on the case, including the battery capacity.
- Refer to the user manual: If you’re unable to find the capacity information on the battery or its case, consult your RV’s user manual. The manual should provide detailed information about the battery, including its capacity.
Remember, determining the capacity of your RV battery is essential for proper maintenance and ensuring it meets your power needs while on the road. By following these steps, you’ll be able to easily find the necessary information to understand your battery’s capacity.
Identify the solar charger output
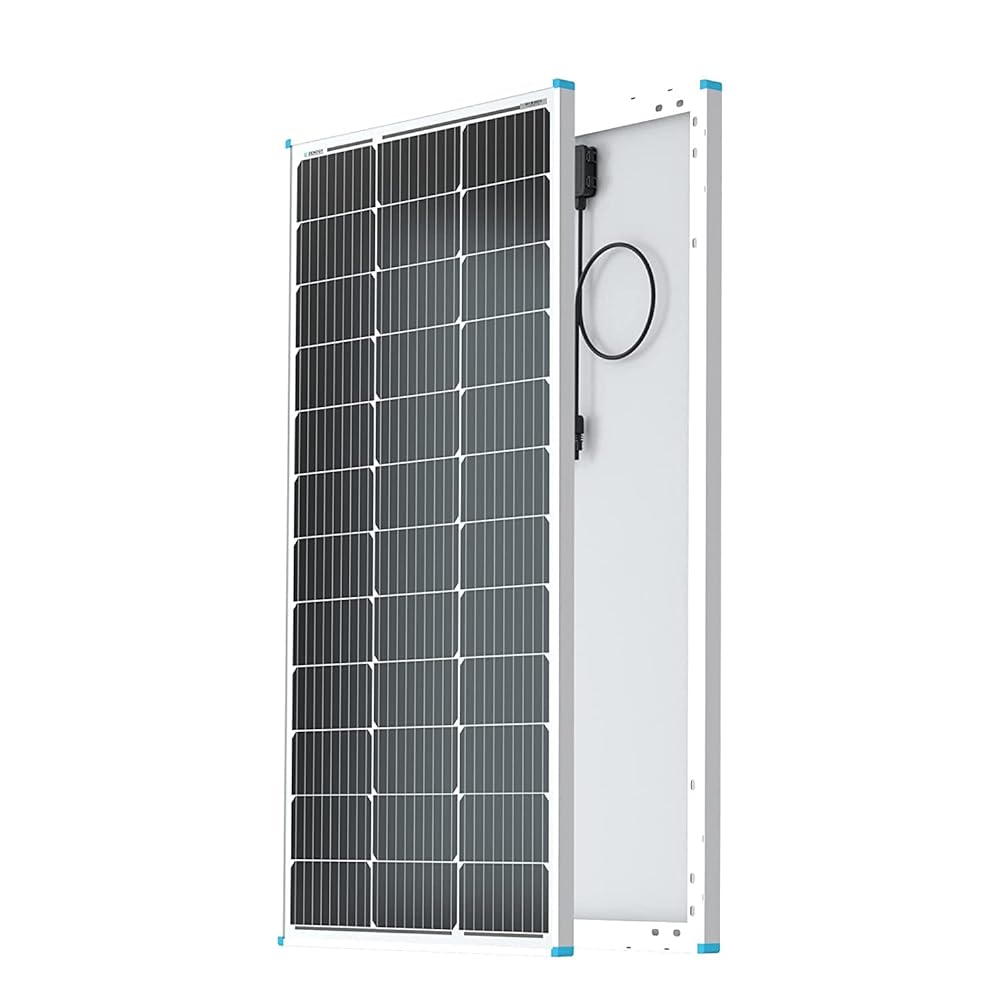
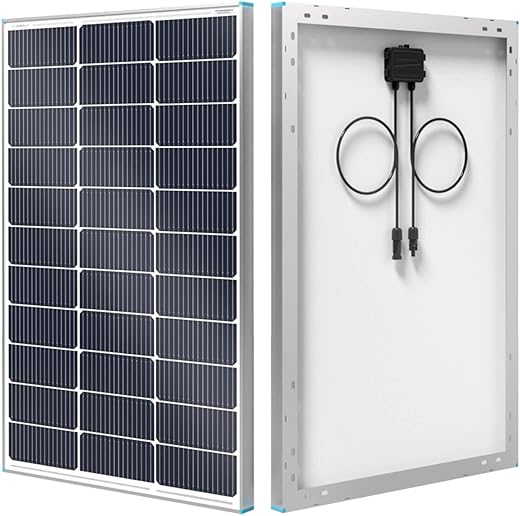
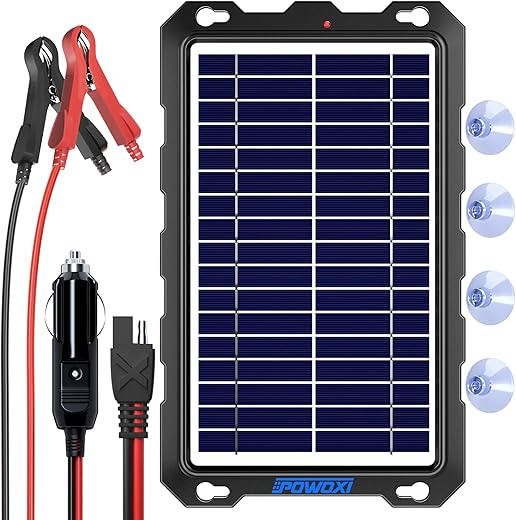
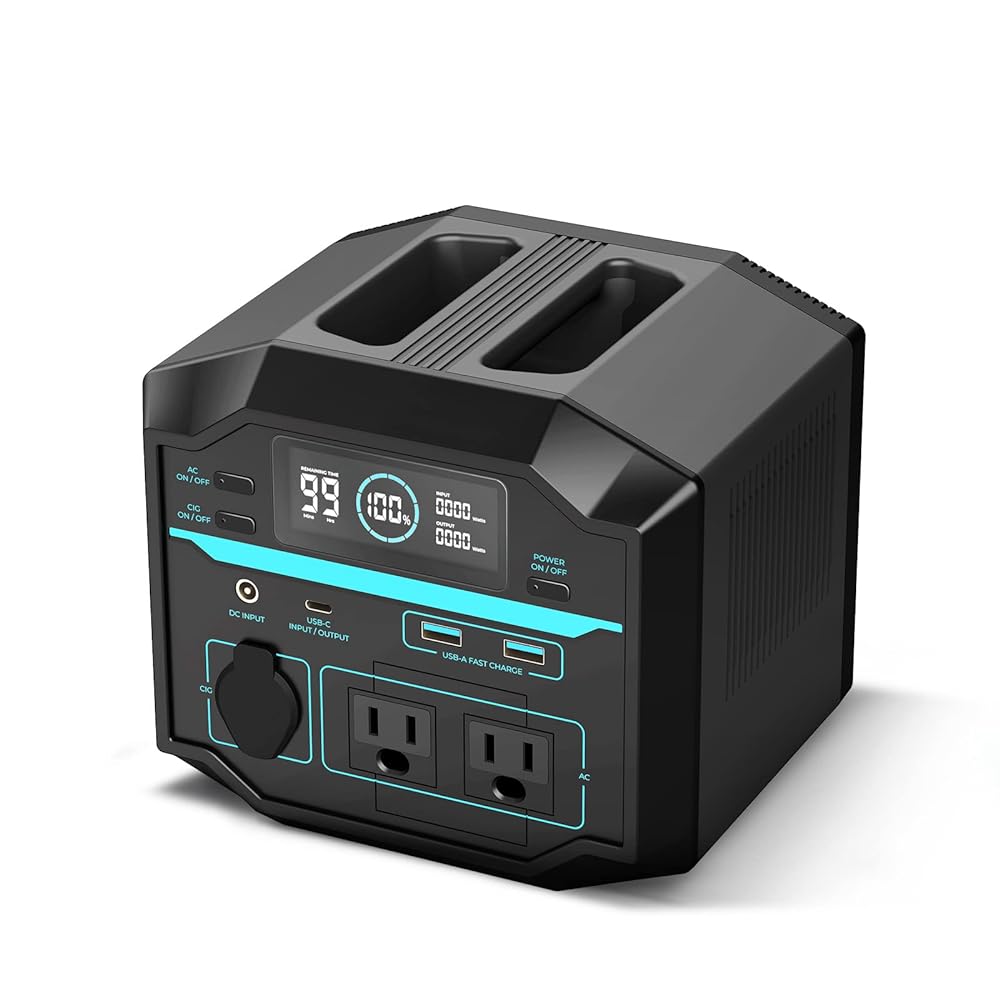
To identify the output rating of your solar charger, check its specifications. These details can usually be found in the product manual or on the packaging. Look for information regarding the output rating, which is typically given in either watts or amps.
To begin, locate the specifications section in the manual or packaging. Pay close attention to the numbers provided, as they indicate the power output of the solar charger. The output rating is important because it determines the amount of energy the charger can provide.
If the output rating is given in watts, you will see a number followed by “W” (such as 5W or 10W). This indicates the maximum power output of the charger. The higher the wattage, the faster your devices will charge.
Alternatively, if the output rating is given in amps, you will see a number followed by “A” (such as 1A or 2A). This refers to the current output of the charger. A higher amp rating means your devices can charge more quickly.
By checking the specifications and understanding the output rating, you can ensure that your solar charger is capable of providing the necessary power for your devices.
Calculate the charging time
To calculate the charging time for your battery using a solar charger, you will need to follow a simple formula. First, determine the battery capacity in amp-hours. This information can usually be found on the battery itself or in the user manual. Once you have the battery capacity, divide it by the output of the solar charger in amps. The result will give you the charging time in hours.
For example, let’s say your battery capacity is 100 amp-hours and your solar charger has an output of 10 amps. To calculate the charging time, you would divide 100 by 10, which equals 10 hours. This means it would take approximately 10 hours to fully charge your battery using the given solar charger.
Remember to ensure that the units for battery capacity and solar charger output are consistent. If the battery capacity is given in milliamp-hours (mAh), you will need to convert it to amp-hours by dividing it by 1000 before performing the calculation.
By following this simple formula, you can easily determine the approximate charging time for your battery using a solar charger.
Consider charging efficiency
When considering charging efficiency, it is important to remember that it can be influenced by various factors. One such factor is temperature. Extreme temperatures, whether it’s too hot or too cold, can affect the charging speed and efficiency. If possible, it is recommended to charge your device in a moderate temperature environment to optimize the charging process.
Another factor to consider is shading. If your device is partially or fully shaded while charging, it can impact the efficiency and slow down the charging time. To ensure maximum efficiency, it is advised to place your device in a well-lit area where it can receive ample sunlight or connect it to a power source that is not obstructed by shade.
Battery condition is another crucial aspect. The efficiency of charging can be influenced by the health and condition of the battery itself. Over time, batteries can degrade, leading to reduced charging efficiency. If you notice that your device’s battery life is significantly shorter than before, it might be a sign that the battery needs to be replaced.
To account for these factors and ensure optimal charging efficiency, we recommend adding some extra time to the calculated charging time. This will give your device enough buffer to handle any potential fluctuations or issues that may arise during the charging process. By doing so, you can ensure a more reliable and efficient charging experience for your device.
Examples:
- If you are planning to charge your phone outdoors on a hot summer day, try to find a shaded spot to prevent overheating and maintain better charging efficiency.
- If you are charging your laptop and notice that the battery drains faster than usual, it might be an indication that the battery condition is deteriorating. Consider replacing the battery to improve charging efficiency.
- When calculating the estimated charging time for your smartwatch, add an additional 15 minutes to account for any potential variations in charging efficiency due to factors like temperature or battery condition.
Remember, keeping these factors in mind and allowing for some extra time will help ensure that your device charges efficiently and avoids any unexpected delays.
Optimize solar panel angle and placement
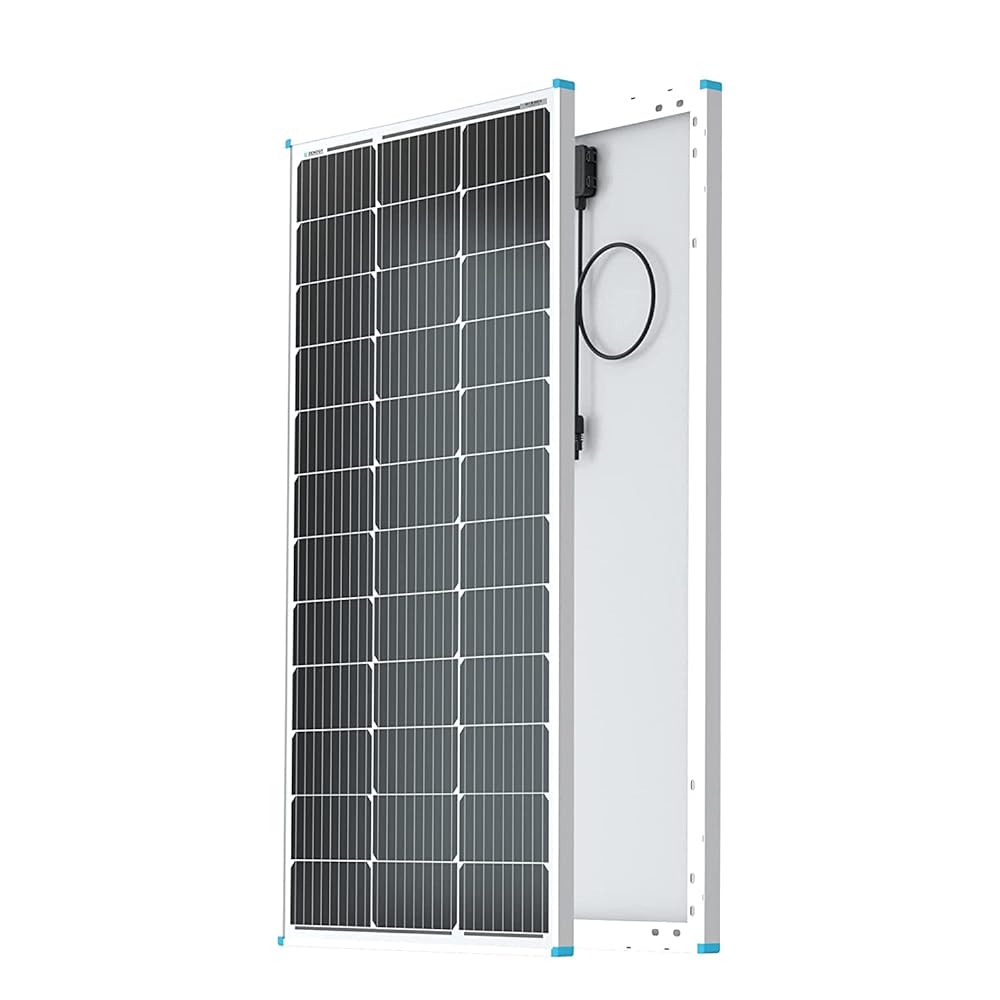
To ensure optimal charging efficiency and reduce charging time for your solar panels, it is crucial to position them at the right angle and avoid shading from any obstructions, such as trees or other structures. Here’s what you need to do:
- Determine the ideal angle: The optimal angle for your solar panels depends on your location’s latitude. To find the best angle, use an online solar angle calculator or consult a solar professional. Adjust the tilt of your panels accordingly.
- Avoid shading: Shading significantly reduces the output of your solar panels, so it’s essential to place them in an area free from any obstructions. Before installation, carefully assess your surroundings throughout the day to identify potential shading sources like trees, buildings, or tall structures.
- Choose the right location: Select a spot that receives maximum sunlight exposure throughout the day. Ideally, this would be an open area, facing south in the Northern Hemisphere and north in the Southern Hemisphere. Ensure there are no objects that could cast shadows on your panels during peak sunlight hours.
- Regularly monitor shading: Over time, new obstructions may arise, such as the growth of nearby trees or the construction of new buildings. Periodically check for any potential shading issues and take necessary actions to maintain optimal panel performance, such as trimming trees or adjusting panel placement if needed.
Following these instructions will help you optimize the angle and placement of your solar panels, allowing them to capture the most sunlight and operate at their full potential.
Monitor the charging process
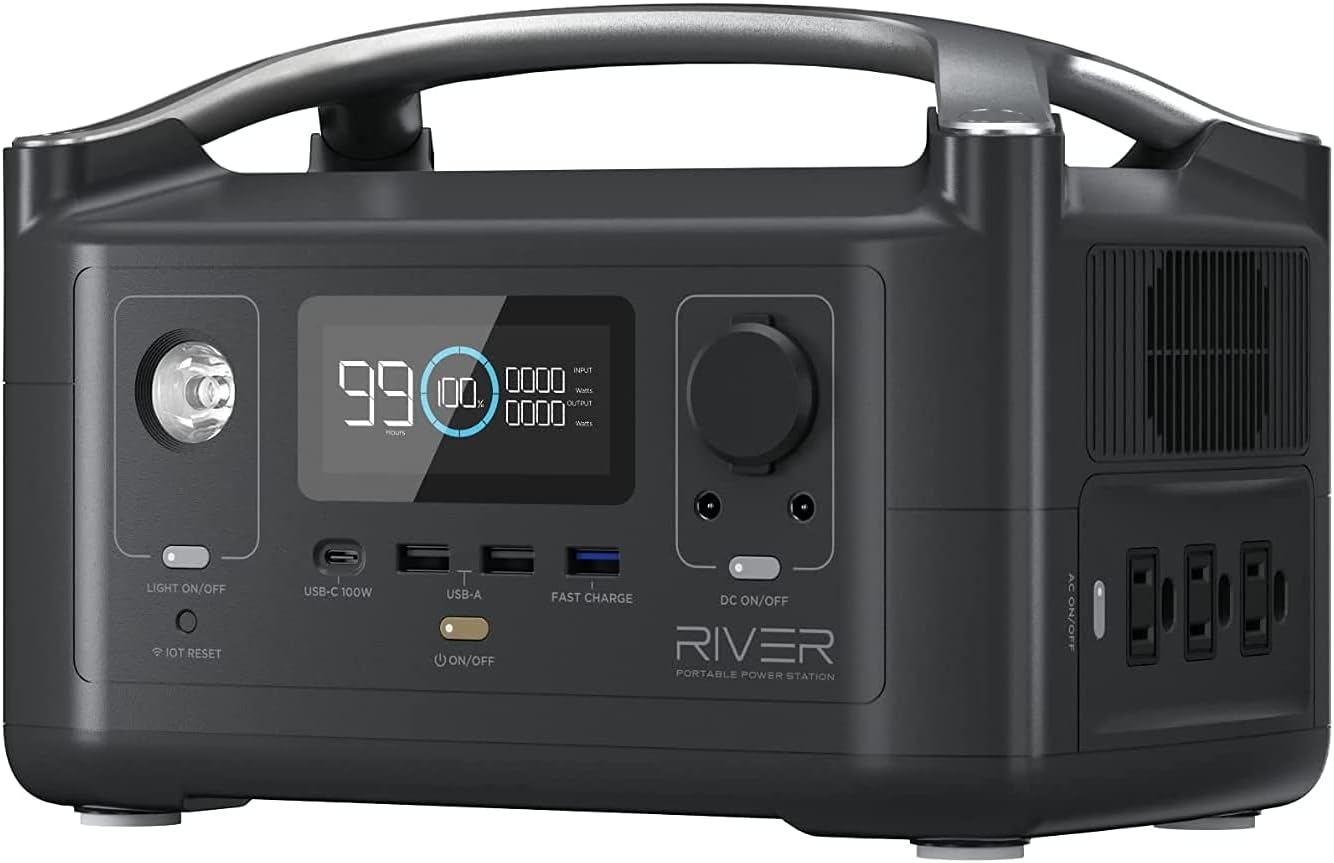
To effectively monitor the charging process and maintain the health of your battery, it is highly recommended to use a battery monitor or charge controller. These devices play a crucial role in keeping track of the charging process, ensuring that your battery is neither overcharged nor undercharged.
To begin, connect the battery monitor or charge controller to your battery. Make sure to follow the manufacturer’s instructions for proper installation. Once the device is connected, it will start monitoring the charging process and provide you with real-time information regarding the battery’s state of charge.
To interpret the data provided by the battery monitor or charge controller, familiarize yourself with the different indicators or readings displayed. These may include voltage levels, current flow, and battery capacity. By regularly checking these readings, you can ensure that your battery is charging properly and not experiencing any issues.
If you notice that the battery is being overcharged, take immediate action by adjusting the charging settings or disconnecting the power source. Overcharging can lead to excessive heat and damage the battery’s lifespan. On the other hand, if the battery is undercharged, consider increasing the charging time or adjusting the power source accordingly.
By utilizing a battery monitor or charge controller, you can actively monitor and regulate the charging process, ensuring the longevity and efficiency of your battery.
Test and adjust as needed
After completing the initial charging cycle, it is important to closely monitor the performance of your battery and make any necessary adjustments to the charging time. By doing so, you can maximize the lifespan and overall performance of your battery.
To begin, observe how your battery performs during regular use. If you notice that the battery drains quickly or does not hold a charge for as long as expected, it may be necessary to adjust the charging time. Start by slightly increasing or decreasing the duration of the charging cycle and take note of any improvements or changes in performance.
For example, if you find that your battery drains rapidly after a full charge, you can try extending the charging time by an additional 30 minutes or so. On the other hand, if the battery takes an excessively long time to charge, you can try reducing the charging duration by 15 minutes. This iterative process of testing and adjusting will allow you to fine-tune the charging time to best suit your battery’s needs.
Remember, the goal is to find the optimal charging time that ensures the battery is neither overcharged nor undercharged. By regularly testing and making adjustments as needed, you can maintain your battery’s efficiency and prolong its lifespan.
Wrap it up!
In conclusion, determining the charging time for an RV solar battery charger requires a comprehensive understanding of several key factors. We have discussed the importance of knowing your battery capacity and using it to calculate charging time accurately. We have also highlighted the significance of considering charging efficiency, optimizing solar panel placement, and monitoring the charging process. By taking these factors into account, you can ensure that your RV battery is efficiently charged and ready for your next adventure. So remember, understanding battery capacity, calculating charging time, considering charging efficiency, optimizing solar panel placement, and monitoring the charging process are all vital aspects of maximizing the benefits of an RV solar battery charger.





The step-by-step process outlined in the article is easy to follow. I’m excited to try it out on my RV solar battery charger!
The article mentions the importance of sunlight intensity, but how do we measure that? Some guidelines would be helpful.
I never knew there were specific calculations to determine the charging time. This article has been an eye-opener!
This article provides clear steps on how to determine the charging time for an RV solar battery charger. Very informative!
I appreciate the author’s emphasis on considering factors like solar panel wattage and battery capacity. It’s important to make accurate estimations.
It would be great if the article included some examples or case studies to help understand the calculations better.
Is it possible to use the same method for determining charging time for other types of batteries, or is this specific to RV solar battery chargers?