How to Safely Disconnect and Store Your RV’s Solar Power Inverter
Power up your RV with top-selling inverters!
Step 1: Gather the necessary tools and materials
Before starting the disconnection process, it is important to gather all the necessary tools and materials. This will ensure that you have everything you need within reach and can complete the task efficiently. Here are some items you may need:
- Gloves: Protect your hands from any sharp edges or potential hazards during the disconnection process. Opt for gloves that provide a good grip and are resistant to punctures.
- Safety glasses: Shield your eyes from any debris or particles that may be released during the disconnection. Look for safety glasses that meet the required safety standards and provide a comfortable fit.
- Screwdriver: A screwdriver is a versatile tool that is often needed for various disconnection tasks. Make sure to have both Phillips and flathead screwdrivers of different sizes, as your RV’s user manual may specify the type required for certain components.
- Other specific tools: Consult your RV’s user manual to identify any other tools or materials that may be necessary for the disconnection process. This could include items like pliers, wrenches, or specialized tools unique to your RV model.
Remember, it is essential to have these tools and materials ready before starting the disconnection process. By being prepared, you can ensure a smooth and safe experience while working on your RV.
Step 2: Turn off the power supply
To ensure your safety during the disconnection process, it is crucial to locate the main power switch or circuit breaker for your RV’s solar power inverter. This switch is responsible for supplying power to the inverter. To turn off the power supply, simply switch it off or flip the circuit breaker to the “off” position. By doing so, you will cut off the power supply to the inverter, preventing any potential mishaps or accidents. It is important to prioritize your safety and make sure the power is completely shut off before proceeding with any further steps.
Step 3: Disconnect the battery
To disconnect the battery, locate the battery cables that are connected to the solar power inverter. First, carefully disconnect the negative (-) cable, followed by the positive (+) cable. It is important to start with the negative cable to prevent any accidental electrical discharge.
After disconnecting the cables, make sure to secure them away from any metal surfaces. This is crucial in order to prevent any accidental contact that could lead to electrical shocks or short circuits. By securing the cables away from metal surfaces, you minimize the risk of any unwanted electrical connections.
Remember, safety should always be your top priority when working with electrical components. By following these steps, you can safely disconnect the battery from the solar power inverter.
Step 4: Remove any external connections
To remove any external connections from your solar power inverter, start by checking if there are any AC power cords or DC power input cables connected to it. Look for these connections on the back or sides of the inverter.
If you find any connections, refer to the manufacturer’s instructions or consult your RV’s user manual for specific guidance on disconnecting them. It is important to follow the recommended steps to ensure a safe and proper disconnection process.
Once you have the necessary instructions, gently pull out the AC power cords or DC power input cables from their corresponding ports. Be careful not to yank or forcefully remove the cables, as this may cause damage. Take your time and make sure to disconnect each connection properly.
By removing these external connections, you will be taking the necessary steps to ensure a smooth and safe process of working with your solar power inverter.
Step 5: Secure loose cables
To secure loose cables, start by disconnecting the battery and external connections. Next, examine the cables and wires for any signs of looseness. If you find any, take the following steps to secure them properly:
- Identify the loose cables: Look for cables that are hanging loosely or not properly connected to their respective ports. Pay attention to both power and data cables.
- Gather necessary tools: Gather zip ties or cable clamps, depending on the size and type of cables you are dealing with. These tools will help keep the cables in place and prevent them from moving around.
- Group cables together: If you have multiple loose cables in the same area, gather them together so they can be secured as a unit. This will help minimize the chances of tangling or damage during storage or transportation.
- Wrap the cables: Once you have grouped the cables, use zip ties or cable clamps to secure them in place. Start from one end of the cables and gradually work your way to the other end. Make sure the ties are tight enough to hold the cables firmly but not too tight to cause damage.
- Trim excess tie length: After securing the cables, trim any excess length from the zip ties to ensure a neat and tidy appearance. This will also prevent any loose ends from getting caught on other objects.
By following these steps, you can effectively secure any loose cables or wires, ensuring they remain intact and protected during storage or transportation.
Step 6: Store the inverter in a safe location
To ensure the safety and longevity of your solar power inverter, it is crucial to find a suitable storage location. Here are some steps to follow:
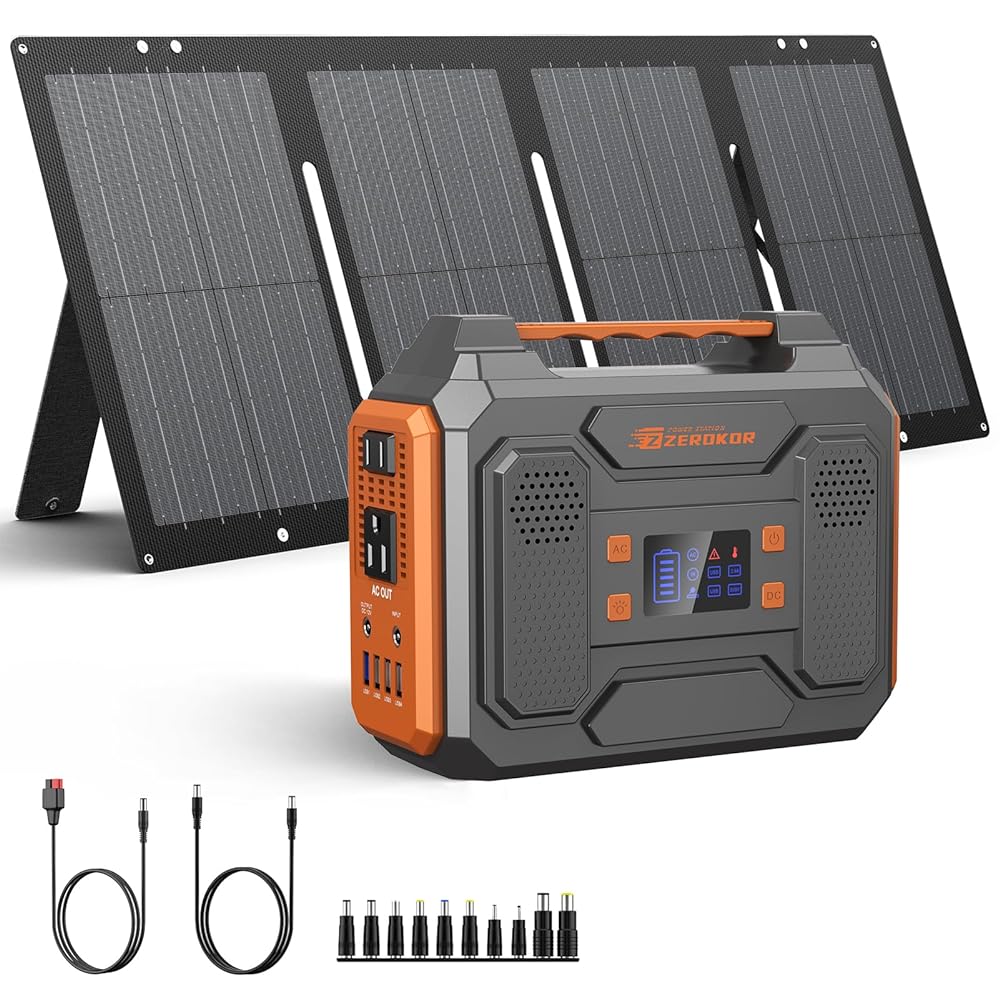
- Find a safe and dry location: Look for a place where the inverter will be protected from moisture and extreme temperatures. It should be a dry area, free from any potential water leaks or flooding.
- Ensure proper ventilation: Adequate airflow is essential to prevent the inverter from overheating. Choose a well-ventilated location, away from any obstructions that might block air circulation.
- Keep away from potential hazards: Store the inverter away from flammable materials, chemicals, or any other potential hazards. This will reduce the risk of accidents or damage to the inverter.
- Use the original packaging or a protective case: If possible, keep the inverter in its original packaging. The packaging is designed to protect the inverter during transportation and storage. Alternatively, you can use a protective case to prevent any physical damage to the inverter.
By following these simple steps, you can ensure that your solar power inverter is stored in a safe and secure location, extending its lifespan and maintaining its optimal performance.
Step 7: Label and document
To ensure a smooth reinstallation process in the future, it is important to label any cables or connections that were disconnected during the removal of the solar power inverter. This will help you easily identify and reconnect each cable to the correct port or terminal. Use small adhesive labels or masking tape to label each cable or connection with a clear and concise description of its function or location. For example, you can label a cable as “AC input” or “Positive terminal”.
In addition to labeling, it is highly recommended to take photos or make notes of the disconnection process. This will serve as a visual or written reference when you are ready to reconnect the solar power inverter. Take clear and detailed photos of the cables and connections before disconnecting them. Alternatively, you can make notes describing the order in which the cables were disconnected and any specific steps that were involved. This will ensure that you can confidently and correctly reconnect everything when the time comes.
By following these steps of labeling and documenting, you will greatly simplify the reinstallation process and minimize the chances of making mistakes or encountering difficulty when reconnecting the solar power inverter.
Wrap up and store
In conclusion, we have provided you with a concise guide on how to safely disconnect and store your RV’s solar power inverter. By following these steps, you can ensure the proper maintenance and longevity of your equipment. Remember, it is always important to refer to your RV’s user manual or seek advice from a professional if you have any doubts or questions. Happy travels and safe adventures!
Essential Equipment
Maximize RV Solar Efficiency
Getting the most out of your solar power inverter for your RV
- Choose the right size: Determine your power needs and select an inverter that can handle the load. Consider the appliances and devices you’ll be using in your RV and ensure that the inverter’s wattage rating is sufficient
- Connect the inverter: Locate a suitable spot in your RV where you can mount the inverter securely. Make sure to follow the manufacturer’s instructions for proper installation. Connect the inverter to your RV’s battery using the provided cables, ensuring that the positive and negative terminals are correctly aligned
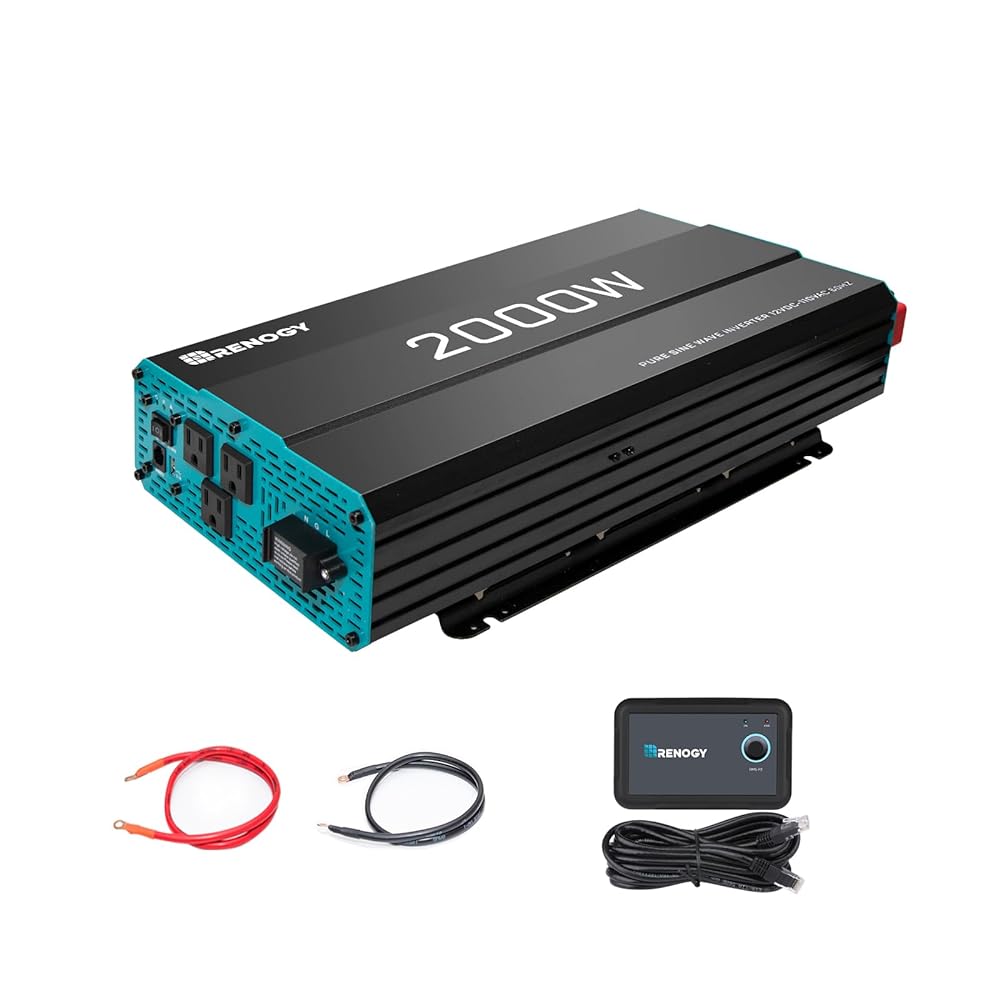
- Understand the controls: Familiarize yourself with the various controls and indicators on the inverter. This may include an on/off switch, input/output ports, voltage displays, and protection features. Read the user manual to understand how to operate and adjust the settings of your specific inverter model
- Powering your devices: Once the inverter is properly installed and connected, you can start using it to power your devices. Plug in your appliances or devices directly into the inverter’s AC outlets. Be mindful of the power limits and avoid overloading the inverter by exceeding its wattage capacity
- Monitor battery levels: Keep an eye on your RV’s battery levels as using the inverter will draw power from it. To ensure you don’t drain the battery completely, consider using a battery monitor or setting up a solar charging system to replenish the battery when needed
- Remember, if you’re new to using solar power inverters for your RV, it’s always a good idea to consult the manufacturer’s instructions and seek professional advice if you’re unsure about any aspect of installation or operation. Happy RVing!





I have a question regarding the recommended storage temperature. Is it okay to store the inverter in extreme cold weather conditions?
I found this article really helpful. I’ve been looking for a guide on how to safely disconnect and store my RV’s solar power inverter and this article provided clear instructions.
I appreciate the tips on how to properly clean and maintain the inverter before storing it. It’s important to keep it in good condition for long-term use.
One thing I would have liked to see in this article is a step-by-step checklist that I could follow. It would make it easier for beginners like me.