How to set up a solar panel system with an RV solar charge controller?
Top-Rated Solar Charge Controllers for RVs
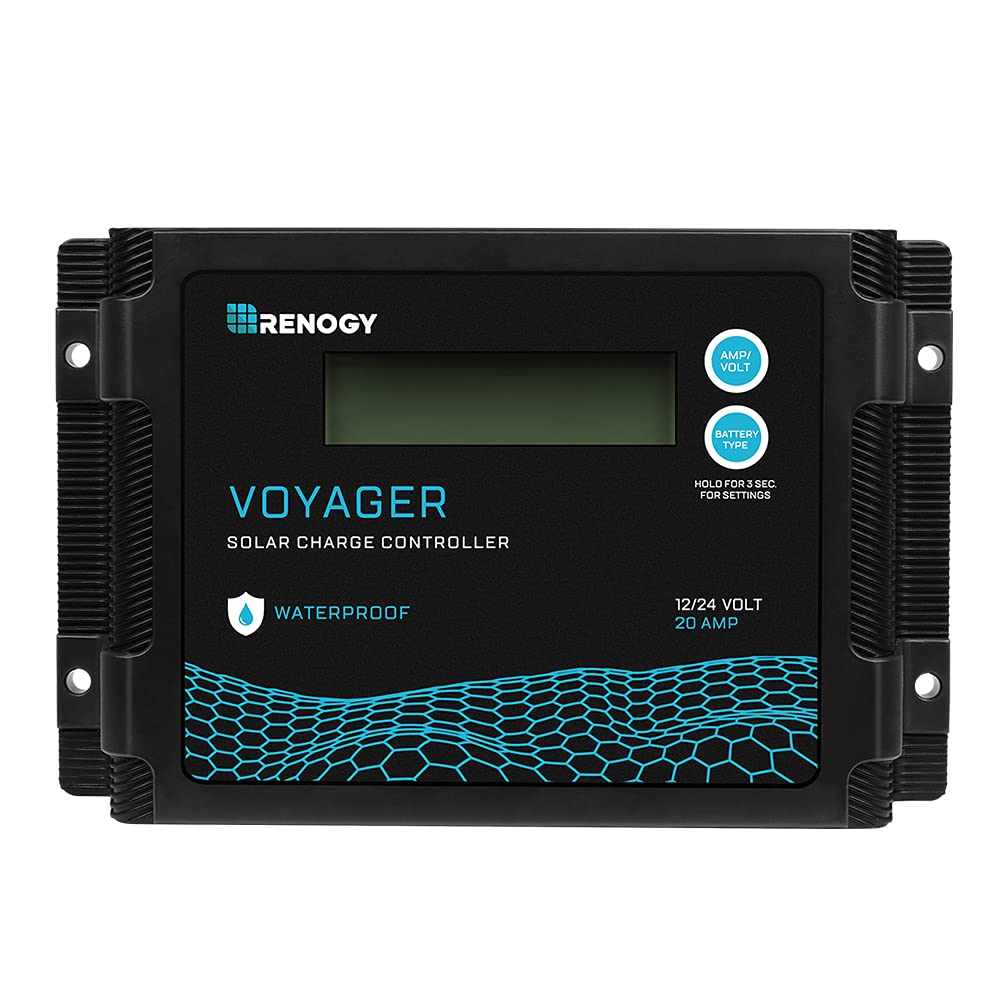
Choose the Right Solar Charge Controller
When researching and choosing a solar charge controller for your RV solar panel system, there are a few key factors to consider. First, take into account the maximum power output of your solar panels. This will help determine the size and capacity of the charge controller you will need. Next, consider the battery voltage of your RV. Different charge controllers are designed to work with different battery voltages, so it’s important to choose one that is compatible. Lastly, take into consideration the charging current requirements of your system. This will help ensure that the charge controller you choose can handle the amount of current your solar panels are capable of generating. For example, if you have 200W solar panels and a 12V battery system, you would need a charge controller capable of handling at least 16.7 amps of charging current. By carefully considering these factors, you can choose the right solar charge controller for your RV solar panel system.
Gather the Necessary Tools and Materials
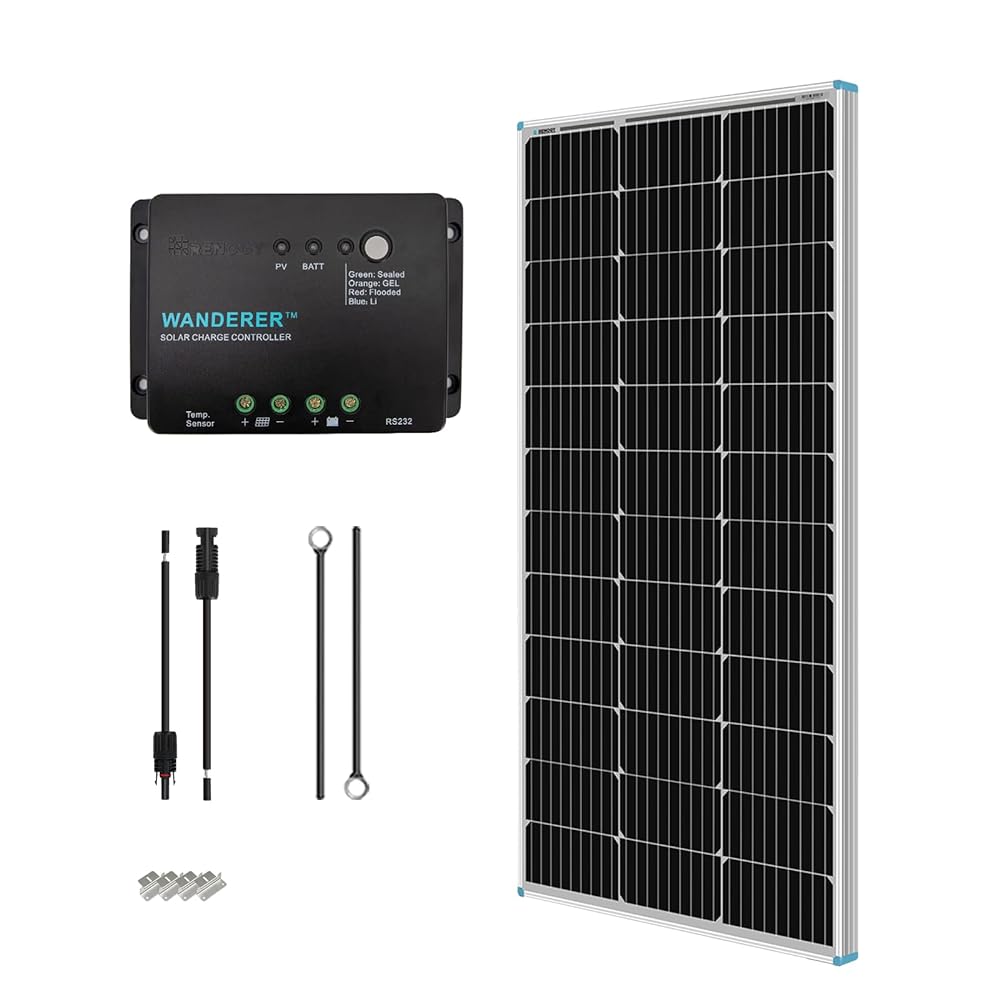
To compile the necessary tools and materials for the installation, gather the following items:
- Solar charge controller: This device regulates the voltage and current from the solar panels to ensure the batteries are charged safely. Example: MPPT Solar Charge Controller.
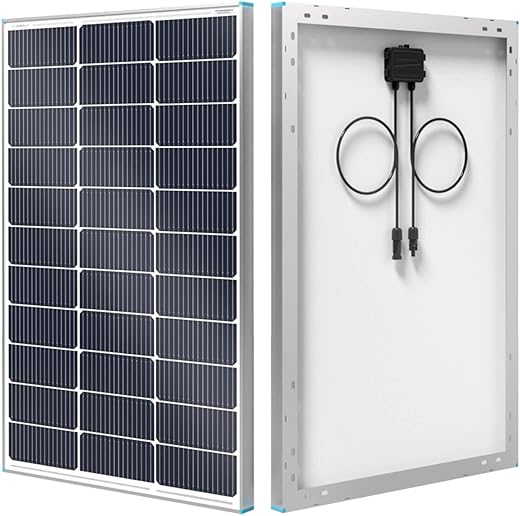
- Solar panels: These are the main components that convert sunlight into electricity. Example: 300W Monocrystalline Solar Panel.
- Batteries: These store the electricity generated by the solar panels for use when the sun isn’t shining. Example: Deep Cycle AGM Battery.
- Cables: These are used to connect the solar panels, charge controller, and batteries together. Example: 10 AWG Solar Cable.
- Connectors: These are necessary to securely join the cables and components together. Example: MC4 Connectors.
- Mounting brackets: These help secure the solar panels in place, whether on a roof or ground. Example: Solar Panel Mounting Z-Bracket.
- Additional accessories: Depending on your specific installation, you may need additional items such as fuses, circuit breakers, or a battery monitor. Example: Fuse Holder with Fuse.
Remember to ensure compatibility of all components and follow the manufacturer’s instructions for installation. Happy solar panel setup!
Position and Mount the Solar Panels
To find an appropriate location on your RV’s roof to position and mount the solar panels, start by considering any obstructions such as vents or air conditioning units. Look for a spot that receives direct sunlight for most of the day. Once you’ve chosen the location, make sure to angle the panels properly to receive maximum sunlight exposure. Use a solar panel mounting kit to secure the panels in place, following the manufacturer’s instructions.
Connect the Solar Panels to the Charge Controller
To connect the solar panels to the charge controller, first gather the appropriate cables and connectors. Follow the manufacturer’s instructions carefully to ensure proper wiring and polarity. Connect the positive and negative terminals of the solar panels to the corresponding terminals on the charge controller. Double-check your connections to ensure a secure and reliable connection.
Connect the Charge Controller to the Batteries
To connect the charge controller to the batteries, use the appropriate cables. Make sure to secure the connections and follow the recommended wiring diagram provided by the charge controller manufacturer. This will ensure that the charge controller functions properly and efficiently.
Verify the System Configuration
To verify the system configuration, we recommend double-checking all connections before powering up the system. Ensure that all cables are securely plugged in and that there are no loose connections. For example, make sure the power cable is firmly connected to both the system unit and the electrical outlet. Additionally, refer to the manufacturer’s instructions to ensure that the system is properly configured, such as adjusting the display settings or enabling specific features.
Power Up the System
To power up the system, first make sure all the connections and configurations have been done correctly. Once that’s confirmed, turn on the power to the solar panel system. Keep a close eye on the charge controller’s display to ensure it is functioning properly. Monitoring the display will give you reassurance that your system is working as it should.
Monitor and Maintain the System
To monitor and maintain your RV solar panel system, regularly check the performance of the system and charge controller. Look for any issues such as low battery voltage or faults. Follow the manufacturer’s recommendations for necessary maintenance and perform it as needed.
Expand and Upgrade as Needed
To expand your RV solar panel system or upgrade components, follow these steps:
- Determine your desired expansion or upgrade. Decide if you want to add more solar panels or upgrade to a higher-capacity charge controller.
- Consult the manufacturer’s instructions. Each solar panel system and component may have specific requirements and compatibility considerations. Ensure that the new components are compatible with your existing system.
- Purchase the necessary components. Identify the specific solar panels or charge controller that you want to add or upgrade to. Make sure to buy from a reputable supplier.
- Install the new components. Follow the manufacturer’s instructions for installation. This may involve mounting additional solar panels, connecting cables, or replacing the charge controller. Be sure to follow proper safety procedures and guidelines during installation.
- Test and monitor your system. Once the expansion or upgrade is complete, check that everything is functioning correctly. Monitor the performance of your RV solar panel system to ensure optimal efficiency and output.
Remember, if you are unsure about any aspect of expanding or upgrading your RV solar panel system, it is recommended to consult a professional or reach out to the manufacturer for guidance.
Wrapping it Up
In conclusion, setting up a solar panel system with an RV solar charge controller is a worthwhile investment for any RV enthusiast looking to harness the power of the sun. Throughout this guide, we have emphasized the importance of choosing the right solar charge controller, ensuring proper installation and wiring, and maintaining your system regularly. By following these steps, you can maximize the efficiency and effectiveness of your RV solar panel system, allowing you to enjoy the benefits of renewable energy while on the road. So, don’t hesitate to embark on your solar journey and take advantage of the abundant power of the sun to power your adventures. Happy trails and sunny days ahead!
Essential Equipment
Maximizing Efficiency
Getting the most out of your RV solar charge controller
- First, select the right solar charge controller for your RV. Consider the capacity of your solar panels and batteries, and choose a charge controller that can handle the appropriate voltage and current
- Next, install the solar charge controller in a convenient and easily accessible location in your RV. Make sure to connect the controller to the battery bank and solar panels using the provided cables and connectors
- Once the charge controller is connected, it will automatically regulate the charging process. However, it’s important to configure the settings correctly. Consult the user manual to set the charging parameters for your specific battery type (e.g., flooded lead-acid, AGM, gel)
- Keep an eye on the solar charge controller’s display or indicators to monitor the charging status. It will typically show the current and voltage being generated by the solar panels, as well as the state of charge of your batteries
- Lastly, it is essential to maintain and periodically check the solar charge controller. Ensure that the connections are secure and clean, and inspect for any signs of damage or wear. Regular maintenance will help optimize the performance and longevity of your RV solar system
- Remember, if you have any specific questions or concerns about your RV solar charge controller, don’t hesitate to reach out to us for further assistance
All Your Questions About RV Solar Charge Controllers Answered
Can an RV solar charge controller handle multiple solar panels?
Yes, an RV solar charge controller can handle multiple solar panels. A solar charge controller is designed to regulate the charging process from solar panels to the batteries in an RV. It ensures that the batteries are charged efficiently and prevents overcharging or damage.
Solar charge controllers are available in different sizes and capacities, so it’s essential to choose one that can accommodate the power output of multiple solar panels. The controller should have a compatible voltage and current rating to handle the combined output of the panels.
When connecting multiple solar panels, they can be wired in parallel or series, depending on the system requirements. Wiring in parallel increases the current capacity, while wiring in series increases the voltage. The charge controller should be able to handle the combined voltage and current of the connected panels.
It’s important to check the specifications and recommendations provided by the manufacturer of the solar charge controller to ensure compatibility with multiple solar panels. Additionally, consulting with a professional or expert in RV solar systems can help determine the most suitable charge controller for your specific setup.





One suggestion for improvement would be to include some troubleshooting tips or common issues that may arise during the setup process. Overall, great article!
I appreciate the inclusion of the recommended tools and materials needed for the installation. It helps to ensure that I have everything I need before starting the project.
This article provides a comprehensive guide on setting up a solar panel system with an RV solar charge controller. I found the step-by-step instructions to be clear and easy to follow. Great job!